Cave/mountain passage
Emerald: After following the walkway along for a short while, you'll be presented with two branching paths, one leading left towards what might first appear to be a dead end, and one leading right to Ganado military camp. Take the left option and carry on until you reach a climbable portion of the cliff. Pull yourself up, smash open the two crates above, and collect the Emerald from amongst the splinters.
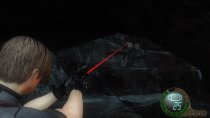
15,000 PTAS:
Kill that lunatic with the minigun. He'll turn up not long after you've set foot in the Ganado military camp. Raid his corpse for the cash.
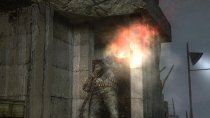
Cliff-top cave
Emerald: After climbing the ladder in the caves to reach the cliff-tops area, there'll be a large crate on the right with a shiny green emerald sitting on top of it.
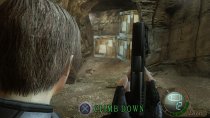
Golden Lynx: This is a bit of a tricky one to explain the exact location to, but there's a pretty good chance that, if you consider yourself something of a thorough explorer, you'll find this without any real difficulty. After recovering the previous treasure, an Emerald, carry on as you normally would until you reach a small network of cave tunnels. If you see a blockade with numerous Ganados waiting for you, then you've gone slightly too far. Within this series of tunnels will be what first appears to be a dead end with an explosive red barrel stationed in it. Make sure there's plenty of distance between you and the red barrel, then shoot it to cause an explosion and bring down the boulders behind it, revealing a hidden room with a treasure chest in there. Inside the chest is the Golden Lynx.
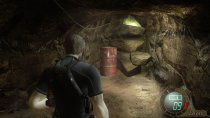
Facility storeroom
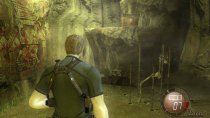
2,000 PTAS: Immediately after entering the facility, swing around to your left to find two lockers lying flat and two upright lockers. Check the upright ones to find 2,500 PTAS hidden inside.
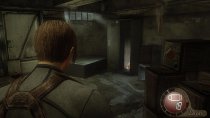
Red Stone of Faith: When you have entered the area where Ashley can be heard calling for Leon — incessantly — you will need to follow the hallway along until you reach a set of descending stairs. Head down them and you'll be in what appears to be a very grimy dining room. Not far from the stairs will be a briefcase with the Red Stone of Faith inside it.
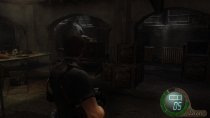
Yellow herb: Still in the same downstairs area as the Stone of Faith, the next yellow herb can be found inside of one of the crates inside the storage room that is filled with wine racks.
Security room
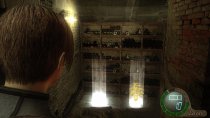
5,000 PTAS: Immediately after the cutscene involving Ashley being thrown around and the Ganados turning off the security camera, turn around and investigate the locker in the corner of the room. Inside will be your 5,000 PTAS.
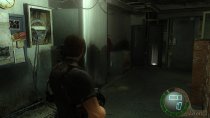
Shutter room
Emerald: When you reach the room where Ganados are using a large shutter as a piece peek-a-boo-style cover, clear the area, then, before proceeding into the next room that they were hold defending, check the file cabinets in the corner to find your next Emerald.
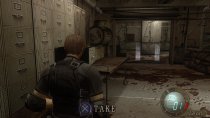
Save room
Brass Pocket Watch: Before heading up the stairs and at the end of the hall on the left, nip into the room with the typewriter. Smash open the crate on top of the larger crate just to the left of the typewriter and you'll be rewarded with a very nice antique pocket watch. You might as well save your progress while you're there, too.
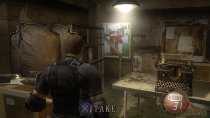
Cluttered upstairs hallway
Emerald: Almost directly across from the freezer storage room, sitting in a metal case.
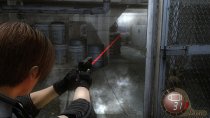
Regenerator autopsy room
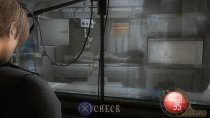
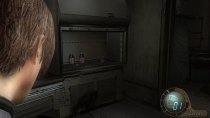
Emerald: Before collecting the Freezer Card Key, you might remember walking passed a locked room will a grotesque-looking monster — a Regenerator — visible through the window. Well, no sooner after picking up that card key will the creature awake from its slumber, slam open the previously-locked door, and attempt to have a quick nibble of your face. You need to temporarily immobilize the thing, dash into its autopsy room, smash open the cabinet glass, and retrieve the Emerald from within. And you need to do it quick.
Cryogenic freezer room
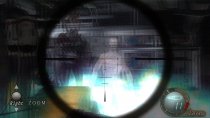
5,000 PTAS: Remember just how terrifying it was to run away from one of those Regenerators? Well, you're about to fight one very soon. After returning the ambient temperature of the room to normal and picking up the Infrared Scope, one of the Regenerators will spring back to life and instigate a bit of a scuffle with you. Thankfully, the new Infrared Scope, when equipped to your preferred sniper rifle, is more than capable of offing these red-eyed menaces. Do bear in mind, however, that it isn't always necessarily cost effective to fight them, depending on how much health and ammo you end up going through, but by shooting its glowing parasites and properly killing it will net you 5,000 PTAS.
Cluttered upstairs hallway (revisited)
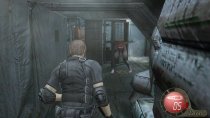
10,000 PTAS (5,000 PTAS x2): Kill the pair of Regenerators lurking in and around this area. Tip: I'd recommended dashing straightforward to where you had prevously picked up the Emerald from the steel case earlier, and holding up there with your sniper rifle. The Regenerators will come to you and you'll be able to pick them off with ease using your sniper rifle.
Waste disposal area
Emerald: This one's practically invisible to the naked eye, presumably buried under an enormous pile of waste material. In order to find it, all you need to do is make your way over to the skip (or "dumpster" for our American friends) that is situated closest to the exit, investigate, and the presumably very smelly Emerald will be all yours.
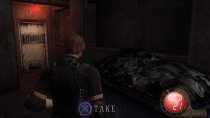
Security room
Yellow herb: Sitting in plain sight. It'll be situated on a desk next to a computer and visible almost immediately after entering the room.
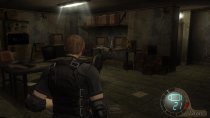
Laboratory
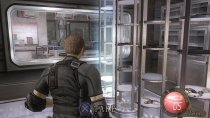
Emerald: After encountering and defeating your first Iron Maiden monster, you'll be free to explore the large laboratory room which is littered with tons of goodies. If you're just after the treasure, however, make your way over to the area which has various tissue samples incubating inside numerous sealed glass containers and you should notice a set of four thin, rounded shelves stretching from floor to ceiling in the middle of the room. Smash the glass surrounding the shelves to acquire your next Emerald.
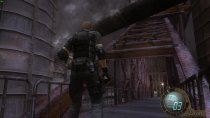
Exterior facility bridge
5,000 PTAS: After collecting the Storage Room Card Key, and before returning to rescue Ashley, use the exit near the tissue sample incubation area to reach a bridge situated outside of the facility. There is a large number of goodies available in this section, also, so do make sure to have a good poke around before once again saving Ashley and moving onto Chapter 5-2. Please do not, though, that you'll be wanting to kill that murder of crows perched atop some of the bridge supports right at start of the area. Don't push forward too far or you'll scare 'em off. You'll need to chuck a flash grenade beneath the them in order to kill them all swiftly and without any escapees. One of the crows will leave behind a whopping 5,000 PTAS.
Waste disposal (lower level)
40,000 PTAS (20,000 PTAS x2): Kill both Iron Maidens in this area.
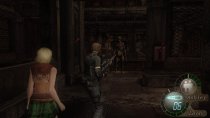
Regenerator corridor
10,000 PTAS (5,000 PTAS x2): Kill both Regenerators that are lurking in the area.
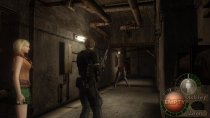
Yellow Herb: After restoring the auxiliary power and having the shutter lifted — apparently — just enough for Ashley to crawl under, continue onwards until you reach a trio of steam pipes sitting smack-dab in the center of a T-junction. The yellow herb is, as you will have almost certainly noticed, resting right in front of those pipes.
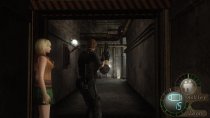
Save room
Green Stone of Judgement: After completing the bulldozer sequence, which results in Ashley ploughing the machine through a wall, move onwards into the next room which will contain a typewriter and a very lonely-looking Merchant. Situated just a short distance away from the Merchant is a metal case with the Green Stone of Judgement hiding away inside.
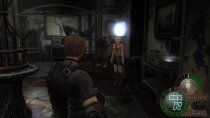
Saddler's altar room
5,000 PTAS: Immediately after diving into Chapter 5-3, head to the left of the steps that you're standing in front of.
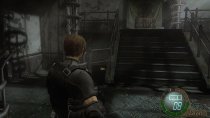
Rust-covered walkway
Emerald: Now this is a cheeky little one that can be easily missed. Before proceeding down the first set of steps, aim upwards towards the skylight to see a glimmer of something in the second set of panes from the left. Shoot it and the Emerald will come falling down into reach.
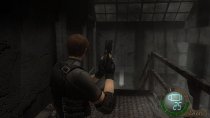
Boiler room
3,000 PTAS: While not found in the boiler room per se, this bundle of cash can be found in the little side room that's connected to the boiler room, on the ground floor. Just push your way passed all the piles of junk, make your way to the back of the room, grab the money, and Bob's your uncle.
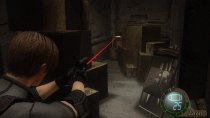
Fenced-off area
3,000 PTAS: You can't miss it. The money will be busily shimmering away, right across from the entrance, just passed the elevator.
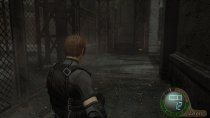
Throne room
Elegant Headdress: Right after entering the room, take a few steps forward, following by turning around and looking upwards. The Elegant Headdress is found suspended from one of the beams above the doors.
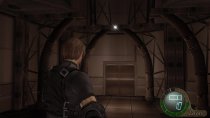
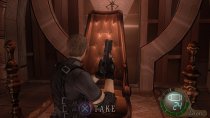
Emerald: On the seat of the throne; it's invisible, for some bizarre reason, but you'll know it's there because a "Take" prompt will appear.
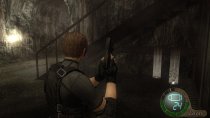
Underground tunnel
Emerald: Shortly after hopping off the elevator which brought you to this area, you'll happen upon a set of stairs — underneath these stairs is a green herb and an emerald.
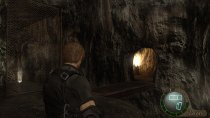
Underground gorge
Yellow herb: Very difficult to miss. The yellow herb can be found shimmering away, inside a broken fenced-in area, not long after entering the area.
"U-3" boss fight
50,000 PTAS: Defeat the horrifying U-3 ("It") creature and it'll leave behind a huge pile of gold. You can't really miss it, as you have to kill the monster in order to continue.
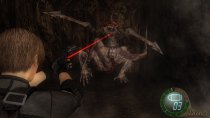
Camp
Random amount of PTAS: March your way inside the big tent and destroy the two small crates sitting atop two different tables to find a large number of gold. During my current playthrough of the game, I received around 4,200 PTAS from both gold piles, but it's to my understanding that the amounts are generated at random.
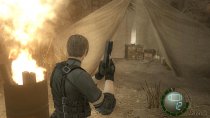
Yellow herb: Trot your way passed the large tent and onwards through a passage which leads to a cliff edge. On the way, you'll almost certainly come across the yellow herb.
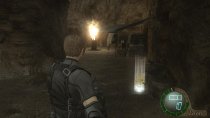
Emerald: Climb down the ladder in the tent to reach a hidden underground passage. When you reach the bottom of the ladder, have a quick gander at the archway above which connects to the tunnel to see the emerald shining away like nobody's business. Shoot it down, collect it, push on.
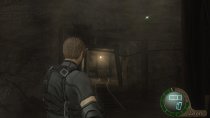
Blue Stone of Treason: This potentially extremely valuable treasure is located not ten seconds away from the previous emerald. After picking up the emerald, press onwards into the underground tunnel and, before following the corridor around, take a sharp right into an alcove. The Blue Stone of Treason will be waiting for you towards the back on some crates.
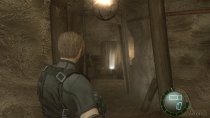
5,000 PTAS: This nice little pile of gold will be sitting on a table in yet another upcoming alcove, but this time the alcove will be on the left. You'll know that you're close when the Merchant comes into view.
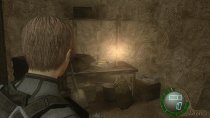
Krauser boss battle
Yellow herb: Almost impossible to miss. The yellow herb is situated right at the bottom of a winding staircase, which is accessible immediately after Krauser asks of Leon, "What is it you fight for?"
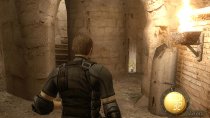
Ganado outpost
Yellow herb: Whilst you are tasked with storming the heavily-defended Ganado stronghold with an attack helicopter as air support, you'll eventually come to a steel bridge which leads to a two-storey construct. Instead of heading towards the construct, jump off either side of the bridge to land in a small valley area. Next to a fence will be the yellow herb.
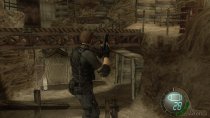
15,000 PTAS: Kill the geezer with the minigun. He'll turn up after you've made your way through the two-storey construct — you can't miss him. I wouldn't bother waiting around for your air support to take him out, though, as I'm almost certain that the helicopter pilot will completely ignore him. After you've bested him, use the zip-line — which is at the top of the hill on the right — to reach his secluded little perch and be able to grab the money from likely-now-vaporous remains.
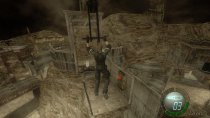
5,000 PTAS: When you near the switch which raises the big metal shutter-door to the next area, jump into the nearby pit and search the only two tents in the area. Inside one tent will be a big pot of gold, in the other will be a red herd — also very useful.
Cliff-top ruins
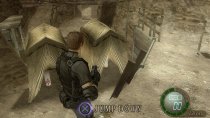
Emerald: After having watched the cutscene where your mate Mike, the lunatic with the helicopter, is killed by one of Saddler's rocket launcher-equipeed goons, you'll be free to explore the area. Right at the top of the steps you will have just climbed will be a relatively short pillar, shoot the emerald which is dangling from the top if it to claim your next treasure.
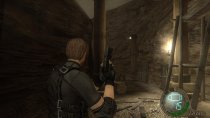
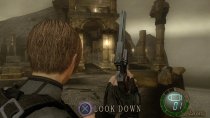
Emerald: This is one of the easiest treasures to miss. Make your way over to the edge of the cliff where you're given the option to "look down" at the Mike's flaming helicopter wreckage belowe, then spin around and have a look towards the top of the large pillar on the right. You might notice something shimmering — that'll be your emerald.
Crypt
Pearl Pendant: As soon as you you've jumped into the underground crypt, turn around to find the Pearl Pendant sitting neatly on a tomb just behind a ladder.
Prison lobby
Yellow herb: Shortly after viewing the cutscene where Leon strangles and attempts to kill Ada, you'll make your way into a deserted prison lobby. Head into the coat room, the room which is on the opposite wall to the entrance, and a yellow herb will be clearly visible and awaiting your collection.
5,000: Whip our your sniper rifle and equip it with the thermal/infrared scope, for there'll be a Regenerator lurking further into the prison. Kill it and steal its money.
Prison courtyard
15,000: Kill the big dude with the minigun. Don't worry, he'll come to you.
5,000 PTAS: On a table which sits right next to the electronic card reader. Very difficult to miss, really.
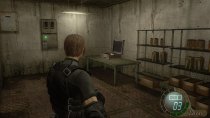
Yellow herb: This one's stashed away in one of the locker's in the observation building, which is the very furthest south-west building of this area. For further clarification: it's the very same observation room which has a card reader machine inside it.
Merchant den
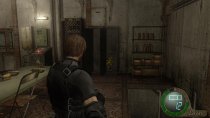
10,000 PTAS (5,000 PTAS x2): After the cutscene involving Leon saving Ashley, and Ada saving Leon, finishes, you'll very quickly come to another Merchant den. Follow the path which leads around to the back of him to find two suspicious-looking wooden barrels. Inside these two barrels, you'll find a very large sum of money.

Laboratory storeroom
Yellow Herb: After the cutscene where Leon and Ashley have the the parasites irradiated from their bodies, head up the stairs to find our last yellow herb.
Saddler boss fight
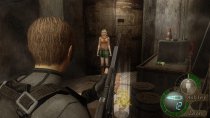
Special Rocket Launcher: Ada will throw you this at some point during the Saddler boss battle. You could use this enormous delivery of death to annihilate Saddler, but as noted by Kevin Hall, it's recommended that you shelve it — figuratively speaking — for the time being and rely on your Broken Butterfly to put an end to Saddler's reign of terror. Reason being that if you save it, you'll have it carried over into your New Game+ and you'll have the option to flog it off to a Merchant for a cool 30,000 PTAS.
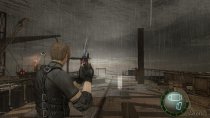
100,000 PTAS: Awarded for killing Saddler once and for all. Collect it from his corpse after Ada triggers the explosion countdown.
Last edited: