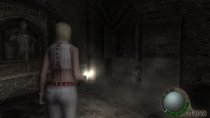
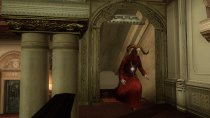
Castle entrance
Spinel: Inside the barrel that's located right next to the stairs.
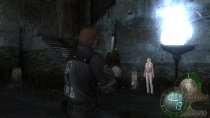
5,000 PTAS: Behind the building that houses the Merchant.
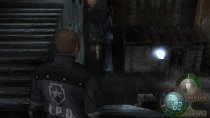
Castle courtyard
Spinel: After making your way up the first winding flight of stairs, an explosion caused by a far-off catapult projectile should destroy the well on the right. Somewhere within the debris will be your Spinel. Do keep in mind that this particular piece of treasure will not emit an aura of light, so it won't actually be visible to the naked eye. Just have a poke around and opt to pick it up when prompted.
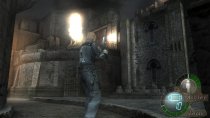
Velvet Blue: Take the first left you come across after passing the demolished well and head into the base of the tower with the inactive cannon. Inside this room will be a trio of wooden crates — the Velvet Blue will be in the middle one.
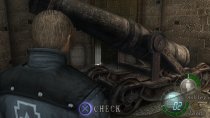
Yellow Herb: When you reach the highest available level of this area, after climbing two sets of stairs, there'll be a bridge to cross with a hut sitting on the opposite side and on the left. Head inside, kill the scythe-swinging Ganado and claim your yellow herb from the treasure chest.
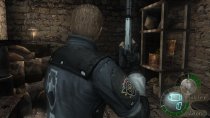
Velvet Blue: In the very same hut, hidden inside a wooden crate on a shelf on the opposite wall.
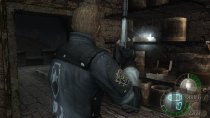
Gold Bangle: There'll be a treasure chest hiding away in a small alcove to the left of the hut. Investigate the treasure chest, obviously.
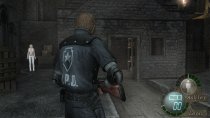
Spinel: After using the cannon to destroy the gate, head inside and stab the torch that is hanging on the wall to the left of the Merchant.
Outbuilding
2,000 PTAS: Upon entering the room, check the cabinet on your immediate right.
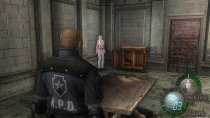
4,500 PTAS: Kill the red-robed Ganado that turns up shortly into the fight. In most cases, he'll stay behind in the downstairs area (where you picked up the Platinum Sword) and send his subordinates after you.
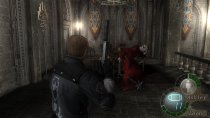
1,800 PTAS: Located on the second level of this area, sitting on a table near the stairs.
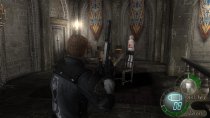
Spinel: Still on the same floor, check the shelves in the corner. You should find two wooden crates sitting on two separate shelves, destroying them both will reveal a Spinel and a box of handgun bullets.
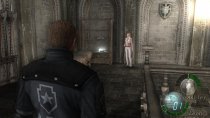
Castle parapet
2,500 PTAS: After Luis leaves to go and retrieve the cure that he has somehow managed to lose, you'll soon come to a small, really quit nicely furnished guard house cum armoury. Inside the guard house will be a cabinet in the far corner with some gold hiding away inside it.
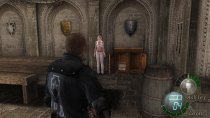
Velvet Blue: In the same outbuilding as the Castle Gate Key; smash the wooden barrel to the right of the chest containing the key to locate the Velvet Blue.
Grand hall
Purple Gem: After Salazar makes a few threats and leaves, head up the small set of steps, spin around and look upwards, wave above the archway, to discover the Purple Gem sticking to the wall. Shoot it down in order to collect it.
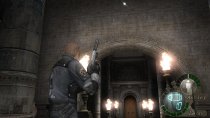
Velvet Blue: Hidden away inside one of the wooden barrels to the right of the stairs (as you're looking towards the castle entrance).
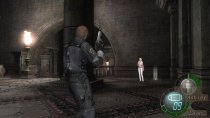
Extravagant hallway
5,000 PTAS: Investigate the large picture of Saddler on the eastern wall.
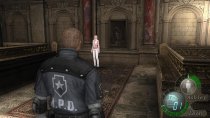
Yellow herb: Smash open the two barrels that sit in the tiny box-room that connects to the hallway, near the "Capture Luis Sera" note.
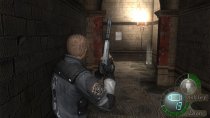
15,000 PTAS: Kill the Garrador mini-boss after he escapes from the restraints of his cell.
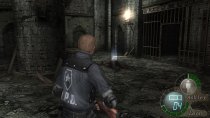
Grand hall
I wouldn't recommend attempting to track down and collect all of the useful items and treasures in this area until after it has been cleared of Ganados. Just sayin'.
4,500 PTAS: Kill the red-robed Ganado.
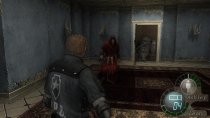
Velvet Blue: Hidden inside a vase that's sitting atop a table to the right of the door that you used to enter the area.
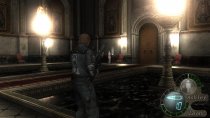
2,000 PTAS: Also sitting on a table, on the right, only not obscured by any flashy vases. Relatively close to where you'll have just picked up the Velvet Blue.
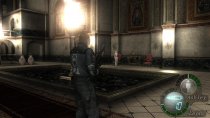
5,500 PTAS: Kill the second and final red-robed monk of this area. He'll appear after either Leon or Ashley uses the crank to lower the stairs.
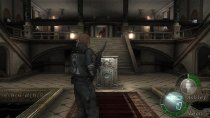
Another grand hall
Spinel: In the middle of the room, suspended from the ceiling is an upside down statue of a person. Shoot the statue's shimmering eye to have the Spinel drop to the floor.
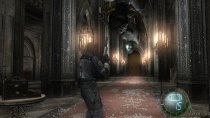
Sewers
Velvet Blue: After killing your first Novistador, you'll come to a ledge which you'll need to jump down from in order to land in a shallow pool which holds a pair of Novistadors waiting to ambush you. Kill them and then search the corner of the pool, near the ledge that you jumped down, to find the Velvet Blue.
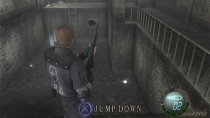
Yellow herb: Upon reaching the prison area, eliminate all of those sneaky Novistadors in the area and then turn your attention to the second cell on the right. Kick down the steel door to gain entry and the yellow herb will be lying next to a dead body.
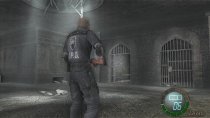
Butterfly Lamp: Inside the Sewer Control Room, the exact same room as the water-release valve, you'll notice a treasure chest is situated on the opposite wall to the valve. It's almost impossible to miss.
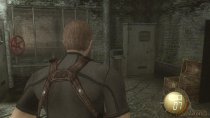
Velvet Blue: After draining the sewer water, you'll be able to enter a new area. Return to the main prison room and drop down into now flood-free lower level and kick the door down. To the left of the stairs in the next room is a small recess which is where you'll find the next Velvet Blue treasure.
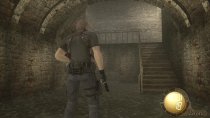
Pendulum room
Velvet Blue: After dodging the first three giant pendulums that you'll have ever come across, head up the small set of steps and grab the sparkling Velvet Blue on the right.
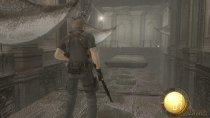
Spinel: Not far off from the last one. Simply carry on as you normally would and you will come to a ladder; climb up and the next Spinel treasure will be situated in one of the wooden barrels in the corner of this area.
Main hall
Eight Spinels and Illuminados Pendant: Upon returning to the main hall of the castle, you'll notice it's now occupied by a gaggle of Ganados. Kill the group with a well-placed grenade and you could potentially acquire as many as eight Spinels. The red-robed Ganado monk in the center will be carrying the most precious treasure: the Illuminados Pendant. Do be quick, however, as the group as a tendency to flee when the ceremony is finished or disturbed.
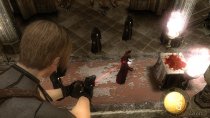
Velvet Blue and Elegant Mask: Returning to the second floor will allow you to swing to an adjacent walkway via a conveniently-placed chandelier. Inside a vase on the left, you'll find the Velvet Blue. Swinging across the proceeding chandelier will take you to an alcove where a chest is sitting inside a display case. Inside the chest is the Elegant Mask.
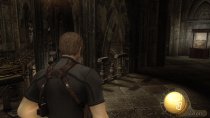
Gallery lobby
Velvet Blue: Just a short distance ahead of where you came in will be a row of differently sized vases; inside one of the smaller vases on the right will be the Velvet Blue
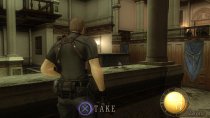
4,000 PTAS: Upon fleeing from his post, the red-robed Ganado will inadvertently allow you access to a small room which has a ton of money situated on a cabinet.
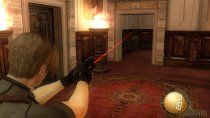
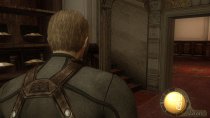
Gallery
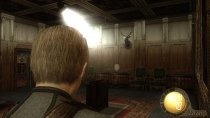
Spinel: Immediately after using the Gallery Key and entering the "Sacrifice of Six Lives" puzzle room, you might notice a deer's head mounted on the wall to the left. It'll be shining and it's quite difficult to miss. Shoot it to have the Spinel fall onto the counter.
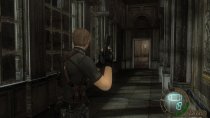
Yellow herb: After stumbling into an ambush in the main gallery room, run through the metal door on the right and head up the stairs. At the top of the stairs will be the yellow herb.
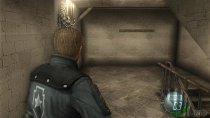
Spinel: Not far off from the last piece of treasure; this next Spinel is sitting on one of the chairs situated on the upper-floor of the large Gallery area where you'll have gotten trapped and ambushed by several black-robed Ganados.

Castle exterior
Spinel: Shortly after using the Goat Ornament and gaining entrance to the rather grim looking corridor overlooking the castle's courtyard, you'll happen upon a short flight of stairs and a door at the top which leads outside. Before passing through this door, look up and shoot down this craftily-placed piece of jewellry.
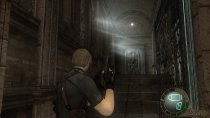
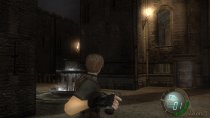
Two Spinels, two Velvet Blues, and bonus PTAS: Less than a one-minute jog onwards from the previous Spinel will bring you to a crow-infested fountain. Killing the crows with a flash grenade will net you some handy little valuables. Don't get too close and don't attempt to shoot 'em, as they will only fly off and leave you without your rightful rewards. There are even a few out-of-sight crows that will be killed by the grenade and will likely drop a few hundred bonus PTAS.
Garden maze
Velvet Blue: Upon entering the garden maze area, you'll walk passed a particularly well-fortified door which reads "Two Moons Make One," moving onwards you'll need to descent some stairs and pass through a gate. After passing through the gate you will be presented with two innocent looking wooden barrels, inside the furthest barrel rests a Velvet Blue. It's unmissable, really.
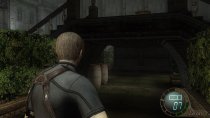
Spinel: Carrying on from the previous treasure item, take a right and follow it along — you'll come to another gate. Boot it down and take two more right turns. Another way to look at it is: simply hug the hedge on the right after picking up the last piece of treasure and follow it along. A Spinel will be sitting comfortably on the floor at the end of the passage.
Red Gem: For such a valuable accessory, the Red Gem is eerily straightforward to come by. There's a good chance you might stumble upon it by accident, to be honest. Regardless, go ahead and make your way up the steps and onto the first bridge (near the first dog kennel and even closer to a treasure chest which holds a first aid spray). Peering over the railings and into the maze will reveal that you and a rather appetizing treasure chest are only separated by a very small number of hedges — and a bridge, of course. Simply exit the bridge the way you came — towards the lone dog kennel — and take a sharp left, head passed the first walkway on the right, but do go down the proceeding lane. You'll find the Red Gem nestled safely in a chest within this area.
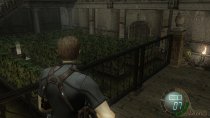
Yellow herb: Hiding in a cheeky little spot right in the bottom left corner of the maze. Thankfully, getting there isn't an entirely difficult challenge. Stand at the bottom of the steps which leads up to the fountain and the Moonstone (left half) and look towards them as if you were about to climb then. Instead of going up, however, head to your right and take the first hedge path that you come across. An enemy dog will spawn behind you and attempt to take you by surprise, so be careful. Just follow the path along and you'll come to the herb at the very end.
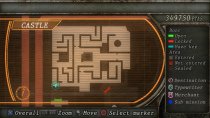
Master bedroom
Two Spinels: A nice and easy pair of valuables to kick off the fresh chapter with; simply smash the vase on the side table near the four-poster bed to net yourself a Spinel, then position yourself in such a way as to be able to see yet another shiny Spinel clinging to the underside of the bed's roof.
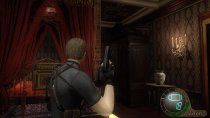
Mirror w/ Pearls & Rubies: Another easy one; simply head into the same room as the Merchant, and raid the wardrobe positioned in the corner to make off with a very nice Pearl and Ruby-studded mirror.
Kitchen/Pantry
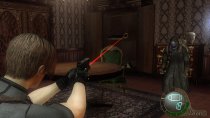
Spinel and 5,000 PTAS: While it might not be immediately apparent, due to its largely food-free appearance, the area next to the dining room is indeed a kitchen. That's where we want to be for this next pair of goodies. The 5,000 PTAS are available for collection via the cabinet that's stationed next to the door you entered in from, and the Spinel is hiding inside one of the wooden crates located next to the padlocked door at the other side of the room.
Garrador-trap room
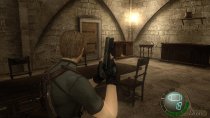
Hourglass w/ Gold Decor and 15,000 PTAS: You can't really miss these two. After being trapped in the cage with the Garrador and that deceptively-inviting treasure chest, you need only kill the Garrador to claim your monetary reward and then help yourself to the contents of the chest — the Hourglass w/ Gold Decor.
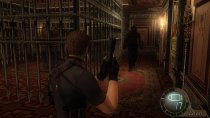
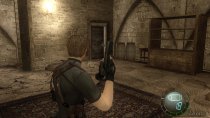
Rocket launcher/platform-raising room
Rocket launcher: Very difficult to miss, this one. As if such a beastly weapon wasn't eye-catching enough, the display case which houses it is even more enormous. Simply knife away the glass and claim your prize.
Velvet Blue: In a vase in the same room as the rocket launcher and on the opposite wall to the tall bars.
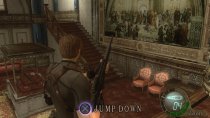
Merchant hallway
Spinel: Impossible to miss. Well, unless you have a natural aversion to smashing vases or something. You'll pass by the Spinel-hiding vase whilst passing through a long — but really quite spacious — corridor that has a typewriter and the ever-cheery looking Merchant waiting for you at the end.
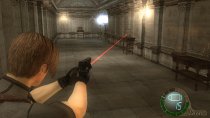
Grand hall
Spinel: Immediately after jumping into Chapter 3-4, and while you're still standing over the mutilated body of you-know-who, look to the right and you'll see a lonesome vase adorning a cabinet next to a ginormous portrait of Saddler. Inside that vase is your next Spinel.
5,000 PTAS: Remember that portrait of Saddler I mentioned in the previous paragraph? Well, investigating that same, huge, unflattering painting will uncover a secret recess where the unrelenting server of monologues has stashed a cool 5,000 PTAS.
Statue room
Spinel: Right as soon as you gain control of Ashley, head to the left and look beside the cabinet.
Yellow herb: Just a stone's throw away from the Spinel. Head into the far corner (on the opposite corner to the typewriter) to find the yellow herb.
Study room
2,500 PTAS: Right next to the single bed will be a petite little cabinet which is safely sheltering the money.
After using both cranks to remove the final two gates and continuing onwards, you'll be presented with a T-junction; enter the room on the left to collect the valuables of "Study room #2" before proceeding onwards (which would be the right path).
Study room #2
Velvet Blue: Immediately upon entering the room, turn right and check the draw situated behind the door to collect the Velvet Blue.
Spinel: Moving ahead slightly, a Spinel is sitting comfortably atop the cabinet which is next to the fireplace and in the corner of the room.
Sliding gates puzzle room
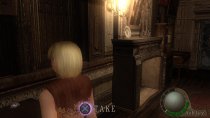
1,800 PTAS: After completing the bizarrely contrived sliding gates puzzle and before leaving through the now-accessible door, have a quick peek in the tall cabinet to the left of the door.
Velvet Blue: Carrying directly on from where you collected the money, turn to the right and you will notice a distinct shimmer atop those dodgy cupboards on the other side of the exit door. That'll be the next Velvet Blue you'll be looking for.
Spooky passage
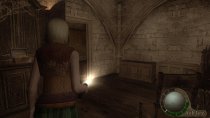
Spinel: Despite being — arguably— primarily an action-orientated game, Resident Evil 4 manages to return to its wonderfully eerie roots during this brief portion of Ashley's scenario. As soon as you enter the spine-chillingly dark tunnel, proceed forwards and veer to the right where there'll be a trio of &mdash what I believe to be &mdash cupboards in the corner. If you pass by a knight's armour statue then you've gone too far. Atop one of the cupboards is your next Spinel.
Salazar Family Insignia room
Gold Bangle: A nice, easy one to spot, this. The Gold Bangle is tucked away inside a plain-as-day treasure chest which is situated inside the room that is unlocked after completing the sliding emblem puzzle. If for some reason you can't see it — know that it isn't far from the Salazar Family Insignia.
Spinel: Investigate the cabinet to the right of the Salazar Family Insignia.
